Users receive a robust internet connection from the TP-Link Wi-Fi range extender. It consists of two internal antennas that facilitate the extension of the Wi-Fi coverage throughout your premises. To increase the coverage of the Wi-Fi, all you need to do is push the extender button. The Wi-Fi range extender is also easy to use. However, many users may encounter TP-Link red light. The red light is an indicator of your wireless network signal being slow. It can result in a poor internet connection. But there are ways you can resolve this problem. Read on to know how to properly set up the TP-Link Wi-Fi range extender and troubleshoot the red-light problem.
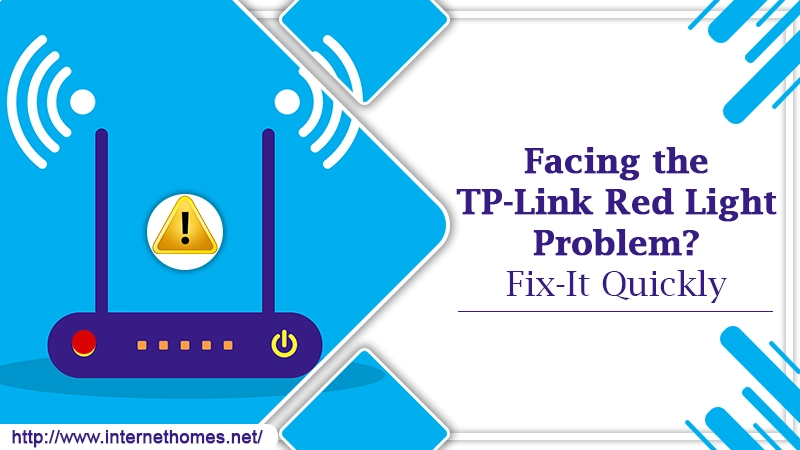
What Causes the TP-Link Red Light on the Wi-Fi Range Extender?
The TP-Link extender red light generally appears due to an outdated version of the extender. The older firmware leads the Wi-Fi signal strength to diminish, and thus the extender’s LED status blinks red. You should enhance the signal strength of the extender and enhance your network experience. For it, update the firmware on the TP-Link extender. It will prevent this device from giving you a poor signal connection.
If you place the extender in a non-ventilated area, then also the red-light problem can occur. Apart from that, if your TP-Link extender is interrupted by radio frequencies transmitting from other devices, you have a high chance of finding the red light on the TP-Link. At times, many devices can be connected to the router. As a result, the TP-Link extender cannot connect. So, the red LED flashes on the extender. An error during the firmware update process also results in this problem.
Read Also- How To Reset TP-Link Router?
The Process of Setting up the TP-Link Wi-Fi Range Extender
There are primarily two simple methods by which you can configure the Wi-Fi range extender of TP-Link. You can either configure the extender with the aid of a WPS button or through a web browser. To quickly set up the extender, switch it on with the aid of a power outlet and wait for some time till you see the LED light changing to a solid colour.
Setup with the assistance of the WPS button
For setting up the TP-Link Wi-Fi extender, you need to keep pressing and holding the WPS button for about 3 minutes. Wait for some time till the LED light link status turns to a solid colour. It points that the connection is firmly established. You can now enjoy the network with your SSID password and name and sign in as an admin to the host network. You can also add _EXT to the host SSIDs end.
Setup with the assistance of a web browser
If the first step didn’t give you the desired result, you can also configure the settings of the extender with the aid of a web browser. To link your device to the wireless range extender, take away the Ethernet cable from the device and tap on the option of ‘Wireless network connection.’ It is there on the taskbar. After this, tap on the icon of refresh and link to the network.
Launch your web browser and type in 192.168.0.254 or ‘tplinkrepeater.net. Hit Enter after giving your credentials to sign in to the webpage. In case you are a new user and do not have a username, then first create both username and password by adhering to the guidelines on the manual.
What to Do on Seeing the TP-Link Red Light
Many users find themselves faced with the TP-Link Wi-Fi extender red light problem. This signals that your extender has a bad range of Wi-Fi signals. Here are some means by which you can fix this problem.
- Bring the Wi-Fi extender and Gateway closer to one another. When you notice the red light on your Wi-Fi extender, the very first thing you can do is to shift your Wi-Fi extender nearer to the Wi-Fi Gateway. You can also move the extender to any other linked extender network. In most cases, this red light on the extender problem resolves through this measure. But if it does not, then use an Ethernet cable to link with your Wi-Fi Gateway. You can also connect with a WPS button. When you notice a solid green light blinking, it means that your problem has been resolved and your internet connection has been established.
- Implement a TP-Link firmware update. As mentioned before, the problem of red light on TP-Link router is also a result of an outdated version of your Wi-Fi extender. The old version results in a continuous dropping of the signal strength of your Wi-Fi network. It causes the LED status of your Wi-Fi extender to flash a bright red light. When you do a TP-Link firmware update, this problem gets resolved. It also safeguards your Wi-Fi extender from offering you a bad signal connection.
How to get the latest firmware file
You can easily download the latest firmware file and resolve this issue. Follow these steps to get the latest firmware file.
- Navigate to the official website of TP-Link. It is www.tp-link.com.
- Once there, download the recent firmware file.
- Now go to the login page using the web or the IP address http://tp-linkrepeater.net.
- Navigate to the settings and choose the ‘System tools.’
- Tap the option of ‘Firmware upgrade.’
- Click ‘Yes’ in case there are any available updates.
- Wait for some time for the reboot to finish. After that, upgrade the file.
Read Also- How To Change TP-Link Wi-Fi Password?
Summing up
You are now aware of all the causes and fixes to resolve the TP-Link red light problem. The error can be a result of numerous factors. You can configure the TP-Link Wi-Fi range extender in two ways, namely, using the WPS button or a web browser. The problem of red light can be fixed by shifting the position of the Wi-Fi extender and bringing it nearer to the Gateway. Apart from this, you can also implement a TP-Link firmware update. Contact TP-Link customer care if the issue doesn’t resolve.