Xfinity is been prominent for offering one of the fastest and trustworthy connections in the US. In the current era, the Company also started giving more valuable packages and internet plans at a minimal rate. Thus, if you have bought any internet packages or plans with Xfinity, you can operate flawlessly. This article is about to Setup Xfinity Wi-Fi Router with ease and in a simpler manner. So, if you have Xfinity wireless router, then unbox its contents and ensure that all the required cables are complete. With the correct router setup on your device, you can make a smooth connection and start functioning well. The whole procedure will just take 10-15 minutes, so let’s do it now.
Suitable Directives To Setup Xfinity Wi-Fi Router
The step-by-step procedures involved in Xfinity Wi-Fi Setup are discussed in the below segment. Let’s begin to follow the provided instructive guidelines:
Step 1: Locate Your Router At A Suitable Point
Wi-Fi signals are quite sensitive and putting your router can matter a lot for weak signals or slow data transmission. Therefore, make sure that you have the ideal spot, here’s how to check it out:
- Do not place your Xfinity router just nearby Televisions, Radios, Microwaves, Baby monitors, Garage Door, and Fridge. All these appliances discharge signals that will prevent wireless transmission to be connected.
- Do not place your router on the floor and high shelves.
- Place your router on slightly elevated and unhindered spaces for maximum efficiency.
- Put it at the center of your home for maximum signal coverage.
- Keep closer to a coaxial wall plug for smooth Xfinity Wi-Fi Router Setup and to prevent wire clutter.
- Prevent placing your router just close to other wireless networks so that there will be no interference.
- Do not put near a thick/concrete/wood/insulated wall otherwise, your signal will be lost.
These are the advanced recommendations for putting your Xfinity Wi-Fi Router in an ideal place. Thus, before learning How To Setup Xfinity Wi-Fi Router you need to adjust your router at a suggestive place. Make sure the wireless router is placed on a surface table in your living room or an office table. Now, let’s move to the next step.
Step 2: Set Up Cables And Peripherals
After you have found a suitable place for your router, it’s time to setup the cables and the peripheral devices. Here’s how:
- First, appropriately connect the power plug which you find while unboxing the packaging materials of your router.
- Next, use a high-quality splitter for the internet.
- Afterward, connect the Coaxial cable from the wall outlet to the port on your router that says “Cable In.” Make sure the cable is plugged in tightly into the port.
- If you are having an Xfinity telephone, then plug your telephone in on one of the Tel ports.
- Afterward, if required prepare the LAN port for your PC.
- Power on the Xfinity Wireless Router.
- Only a few routers have a power button. Most of the time, routers are automatically turned on without even pressing any switches.
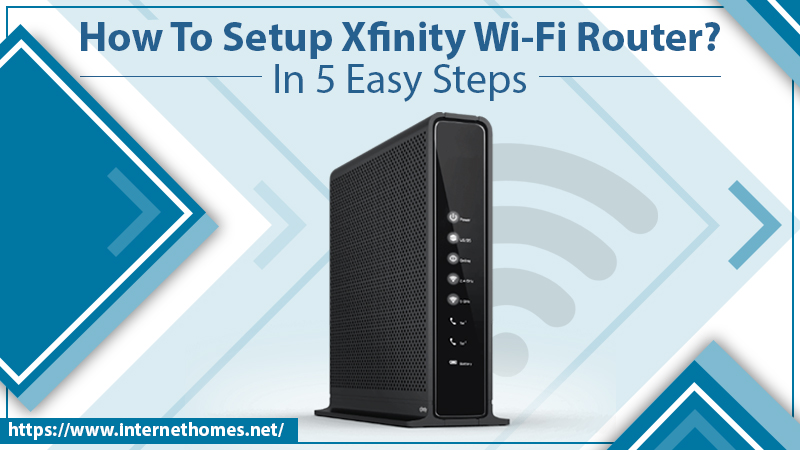
Now that, your Xfinity router has been turned on successfully, you should check the Power, US/DS 2.4GHz, and 5GHz lights. Confirm that there is a solid light and the Online light starts blinking. Now, you can proceed to the next step for Xfinity Wi-Fi Router Setup.
Step 3: Temporarily Connect For Activation
For this step, either a Computer/Laptop with a LAN Port or Wi-Fi enabled device like your phone/tablet is extremely required. Once you are having the same, let’s follow the provided course of action to connect the device to the internet:
For LAN
- First, ensure that the network drivers installed on your computer strongly supports the LAN connection.
- Now, take your prepared LAN port and plug it into your computer.
For Wi-Fi Devices
- First, make sure that the Wi-Fi cards and adaptors are supported.
- Once you are confirmed about it, open the Wi-Fi Settings of the router on your web browser.
- Check under the router to identify the Default SSID and Password of your wireless network.
- Now, on your operating device, provide the correct Wi-Fi SSID and password. Thereafter, the Wi-Fi net will be successfully connected.
Step 4: Enable Your Internet Service
Now, once the device is connected to the network, connect it to the Xfinity internet service. Go through the instructions provided underneath to activate your service:
- Open any web browser on your computer or laptop
- Type the official site of activation URL on your browser and then press the “Enter” key.
- Afterward, follow the instructions prompted on the screen to download the Xfinity xFi app.
- Now, let’s the app to be successfully installed on your system.
- After that, open the xFi app and run through the setup process without skipping a single procedure.
- After the activation process gets done, the Wi-Fi network will probably reboot by itself. Furthermore, it will also take up to 10 minutes to finalize the Xfinity router setup. So, just wait till the process ends thoroughly.
Step 5: Customize Your Network Settings
For safety and security purposes, you want to modify the Wi-Fi SSID Name and Password of your network. So, here’s the required guidance for changing the network SSID and password. Remember, certain settings sometimes would be causing your router to stop working. So, by keeping this in mind, let’s follow:
- First and foremost, you need to login into your Xfinity Myaccount app
- Now, click the “Wireless Gateway” on the Internet tab.
- Thereafter, press changes Wi-Fi settings.
- After that, type in your new Name and Password field.
- In the end, click the “Save” button and wait for a couple of seconds for the network to update.
Read Also- Ways To Fix The Xfinity DNS Server Not Responding.
When all is done, write down your new Wi-Fi Name and Password somewhere to remember it. Doing this will prevent you from confronting the authentication problems in the future.